

By Katie Stobbart (The Cascade) – Email
Print Edition: July 2, 2014
At least from the giver’s perspective, the perfect gift is personal, affordable, and easy to put together. This little project fits the bill for birthdays, going-away parties, graduation, weddings, and almost any other occasion you can think of. It’s also a nice thing to make for yourself as a memento of a summer holiday. There is plenty of room for customization. This mini-scrapbook is also way easier than putting a regular-size book together, and a lot cheaper.
What you’ll need

-Three 8½ x 11 sheets of plain (but good quality) paper
-One or two pieces of patterned scrapbook paper — though depending on your project, you could also use wrapping paper, comic book pages, magazine clippings, or whatever strikes your fancy
-Ribbon, about 50 cm long, but give yourself a little extra length to play with — I have also used a few pieces of raffia
-Two pieces of thin cardboard, each about four to five inches square — I just cut these out of the side of a box
-Scissors
-Tape — double-sided is best, but I’ve even gotten away with duct tape for lack of craftier options
-Pen or pencil
-Photos, quotes, stickers, or other content for your scrapbook
Steps
1.Cut the three sheets of plain paper into 8½” squares. You can use the short edge of one full sheet to measure the width.
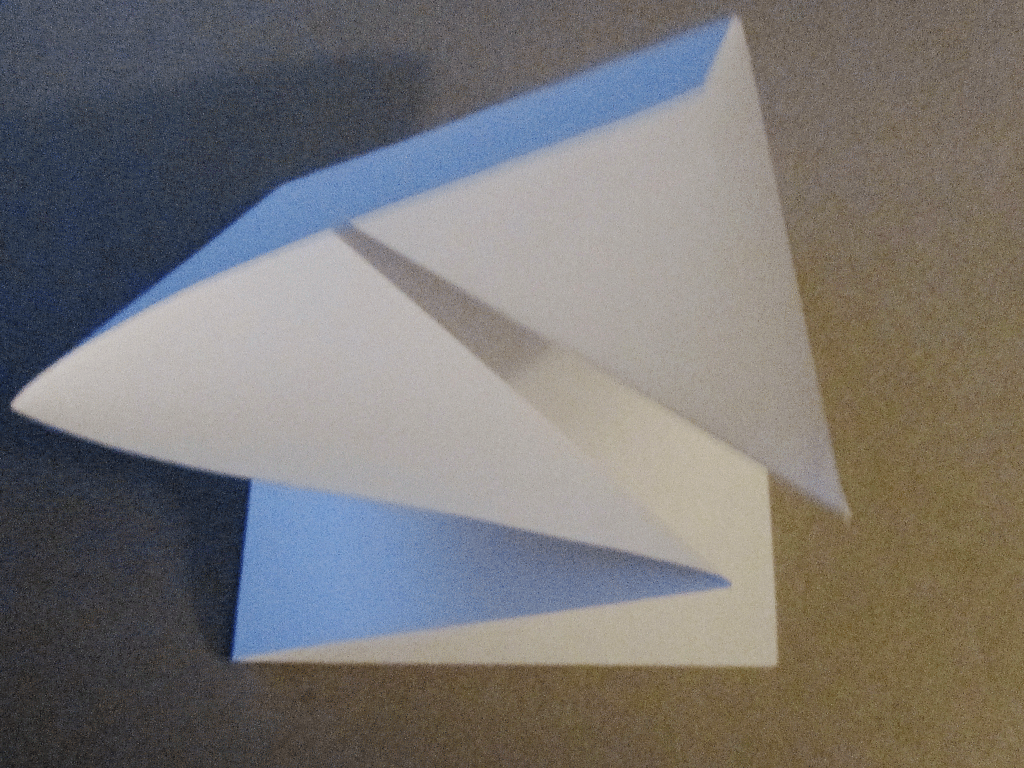
2.Take one square of paper and fold it in half. Open it up and fold it in half the other way. Then, flip the paper over and fold it in half diagonally. You should have three folds, dividing the white space into two squares and four triangles.
3.Flip the paper back over. Match the two square spaces together, allowing the triangles to naturally fold into the centre.
4.Repeat steps two and three for the remaining pieces of plain paper. You should now have three small, folded-up squares.
5.Cut the cardboard into squares a little larger than your folded squares — you can use the paper squares to give an approximate measure. The perimeter around your paper square should be about 0.5cm wide. Trace the first cardboard square to make the second, as you want them to be the same size — these will form the cover of your scrapbook.
6.Cut your scrapbook paper (or whatever you are using as a cover pattern) using the cardboard as a guide. Give yourself a little more paper than you think you need, but aim for a perimeter about 3cm wide.
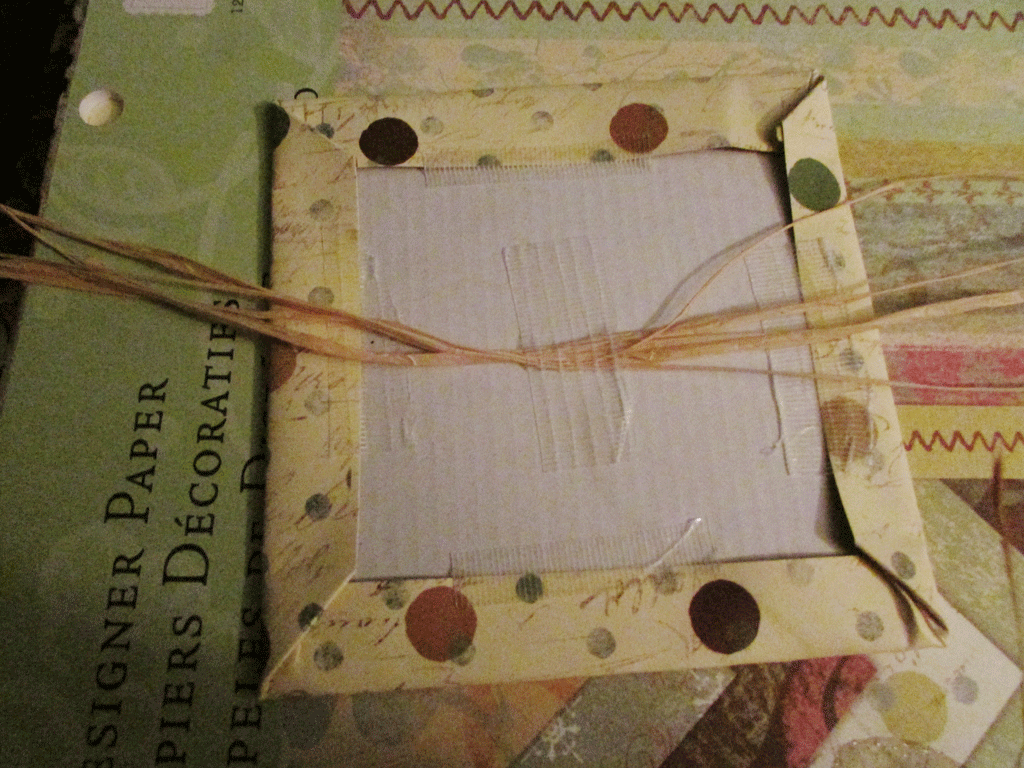
7.Fold the edges of your scrapbook paper around the cardboard and tape into place. Do this for the front and back cover.
8.Position the centre of your ribbon at the middle of the back cover on the inside and tape it in place. Spread out the edges of the ribbon flat so it doesn’t interfere with the next step.
9.Tape the external face of one of your paper squares in the centre of the back cover, on top of the ribbon.
10.Slide a second paper square into the first one by matching the inside face of the top square to the inside face of the bottom square. Put a piece of double-sided tape (or a loop of single-sided tape) between the two faces. Make sure they fit together tightly. Do this again to fit the third paper square into the second one.
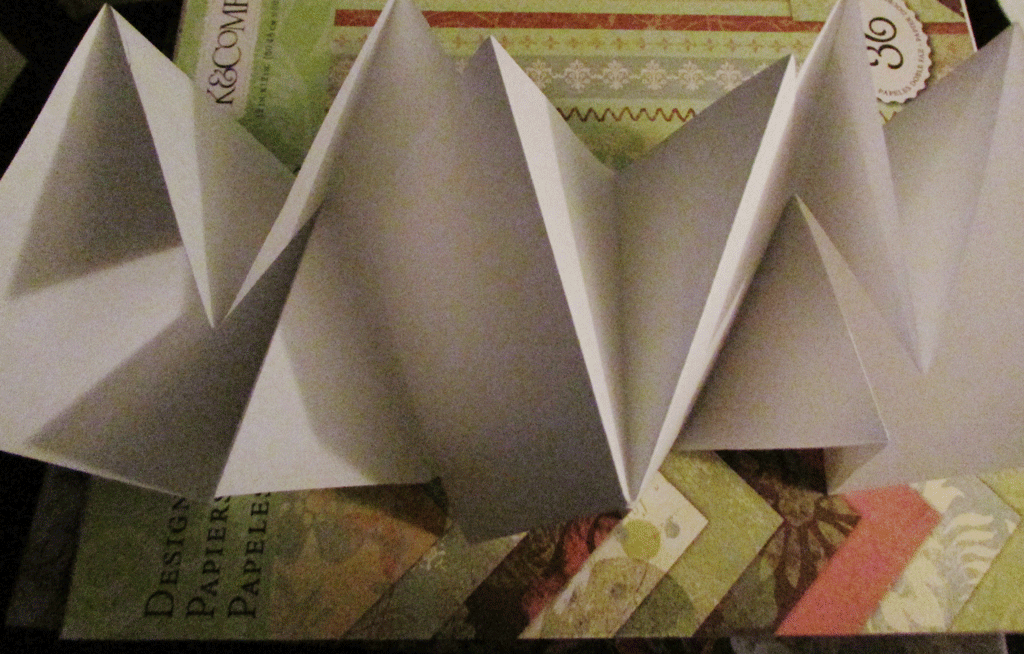
11.Tape the inside of the front cover to the outside of the top paper square. By holding both covers, you should be able to open the book accordion-style, and close it again so that all the pages fold back into the square.
12.You can now pull the ends of the ribbon up around the front cover to tie it closed.
13.Now you’re ready to fill your scrapbook with small photos, stickers, or quotes to personalize the gift or keepsake.
