The real black gold
Compost: a wonderful, nutrient-rich material that will help you grow the thriving garden of your dreams. Composting is the natural process of the decomposition of organic matter, and it’s so easy to do at home, diverting a lot of your waste from the landfill.
Think of composting in terms of browns — carbon sources like shredded newspaper, leaves, or straw — and greens — nitrogen sources like food scraps, fresh grass clippings, and chicken manure. You’re going to want to layer browns and greens pretty evenly in your compost for ideal decomposition.
For backyard composting, all you need is an area big enough to house one or two large boxes, ideally one cubic metre in size. The ideal compost bin will have proper aeration throughout and be bottomless to allow for worms to enter the compost pile. It should also have a secure lid to keep non-worm critters out. You can buy a bin from your garden supply store, or if you’re ambitious, try making a container yourself. You could also invest in a compost tumbler. In these boxes you’ll start with a base layer of straw or leaves, and then you’ll layer your browns and greens on top.
Marina Gibson, farm manager of Archway Urban Farm, says that a good rule of thumb to ensure your compost is balanced is that for every bucketful of food scraps you add to the bin, you should add a bucketful of carbon-rich material as well. Leave the box uncovered occasionally while it’s raining in order to provide necessary moisture. You want to regularly turn over your compost piles to allow for oxygen circulation. This is where it helps to have two different boxes; it makes it easier to turn the compost from one bin into another. Gibson says that you know that your backyard compost pile is decomposing nicely if it shrinks in size over time and is steamy hot in the centre.

Vermicomposting is a great option for people who don’t have any access to a backyard. Vermicomposting is using worms to convert your food scraps into microbially rich worm castings, the perfect fertilizer for any plants. Setting up a worm bin is super easy. Start with a container: something shallow with a larger surface area like a tupperware bin or even a kitty litter box. Fill the box with a layer of carbon-rich “bedding” such as shredded newspaper or cardboard and pour some water over this layer to make it moist. Add in your worms and cover them with a blanket (any sort of fabric or burlap sack). Then, just start feeding your worms by adding food scraps on top. You don’t have to add a lid, but if you do, be sure to cut air holes into it so the worms can breathe. Alternatively, you can buy a pre-made vermicompost bin from companies like The Box of Life or the local company, Urban Worm Wonders. These pre-made bins make it really easy to harvest your compost, as the worms move upward through layers to eat the fresh food, leaving the bottom layer free for you to pull out and scatter wherever you need without having to worry about bringing worms along with it. Vermicompost is actually ideal for houseplants because you can produce it year-round.
A lot of people are concerned about what exactly they can and can’t add into their compost, so I’ll give you some general ideas. For your browns, it’s okay to add: paper towels, paper napkins, shredded paper, parchment paper, toilet paper rolls, and corn stalks. You shouldn’t add: glossy magazines or laminated paper. For your greens, it’s okay to add: all fruit and vegetable peelings, apple cores, coffee grounds, egg shells, pet or human hair, nail clippings, vacuum dust, and dryer lint. You should avoid: all protein and dairy, cooked food, grains, and any grease or oils; these will attract pests and make your compost pile smell really bad. Chicken manure and small animal droppings, like from rabbits or guinea pigs, make for great compost additions, but don’t add any kitty litter or dog feces, as they have a largely protein-based diet.

A small suggestion while collecting food scraps to throw in your compost — keep them in an airtight container (like an old ice cream pail) under the sink in your kitchen. That way your food scrap bin is still easy to access but will not attract flies or let out foul odours.
So, what can you do with your lovely compost once it’s ready? Backyard compost can take as little as six to eight weeks, if balanced correctly, to fully decompose, according to Gibson. However, don’t be surprised if yours takes anywhere from three to six months to fully decompose. Vermicompost can be ready in as little as four weeks. You’ll know the compost is ready when the material looks and feels like soil with an earthy smell to it. Gibson advises that the darker the colour of the compost, the richer the nutrients. You’ll start harvesting at the bottom of the bin, and you’ll sift this material through a screen that is simple to make yourself. Layer this compost into your garden beds, mix it into potting soil, or sprinkle it over your lawn to promote growth. Remember, however, that compost is not soil; it is more of an organic fertilizer that is good to mix into or layer with soil. Gibson would not recommend using compost made outdoors in your houseplants because you may not want to bring worms into your house.
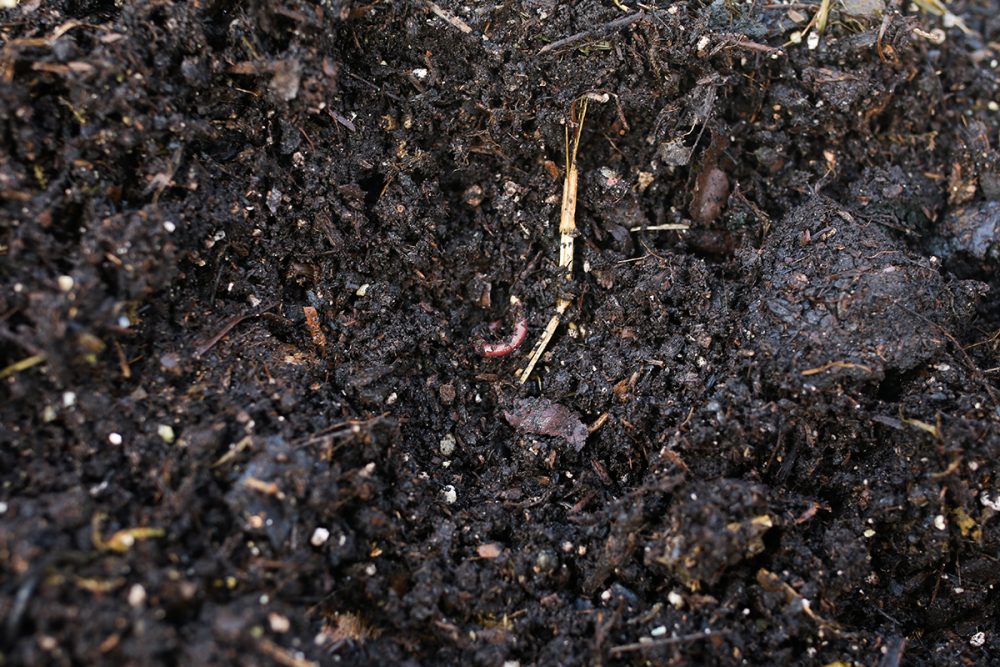
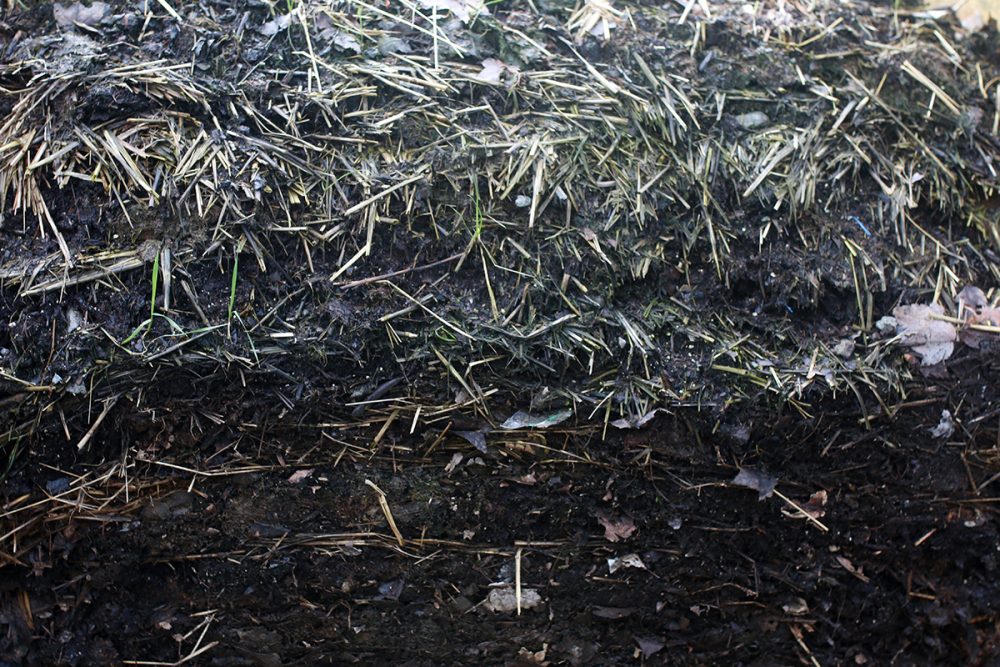
Archway Urban Garden compost. (Andrea Sadowski/The Cascade)
Andrea Sadowski is working towards her BA in Global Development Studies, with a minor in anthropology and Mennonite studies. When she's not sitting in front of her computer, Andrea enjoys climbing mountains, sleeping outside, cooking delicious plant-based food, talking to animals, and dismantling the patriarchy.

